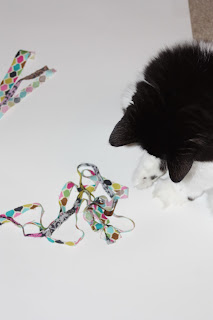
Really, this is so easy and made with scrap material. It takes about 15-20 minutes to make one - less time if you don't have a cat batting at the strips of material as you braid.
You will need:
three strips of material 42 inches by 1/4 inch
one ponytail holder
one safety pin
a lighter (optional)
Take three strips of material - mine are 42 inches long and 1/4 to 1/2 inch wide. It doesn't have to exact. I make mine extra long because I like the "tails" to hang out.
Tie a knot in the end and then try to keep them away from your cat. Oh ya' I apologize for the lighting on the pictures. I don't know why the turned out with so many shadows and I don't have the photoshop on this computer yet... that will be added a.s.a.p.
I safety pin mine to the top of the recliner because is makes it easier to braid. If you are worried about putting a pin in your furniture you can also pin them to your jeans or tape it to a table.
Here is a picture of the braid half way finished. Note all the little strings coming off of the edges? If you don't like that look you can snip them off and then use fray-check or burn them off with a lighter. I always use the lighter method because it is quick and I have yet to set anything on fire or set off a smoke alarm.
The last step is to tie the ends to your ponytail holder. I measure this one based on my daughter's adorable head. You could also just tie it around your noggin but I like mine to be easy to slip on and run out the door.
Admittedly, the ponytail holder isn't too attractive if you are a Neat Nick but it doesn't show when your hair is down. If you want it to look more "finished" you could always sew it together neatly and cover it with material... if you are motivated.


0 comments:
Post a Comment